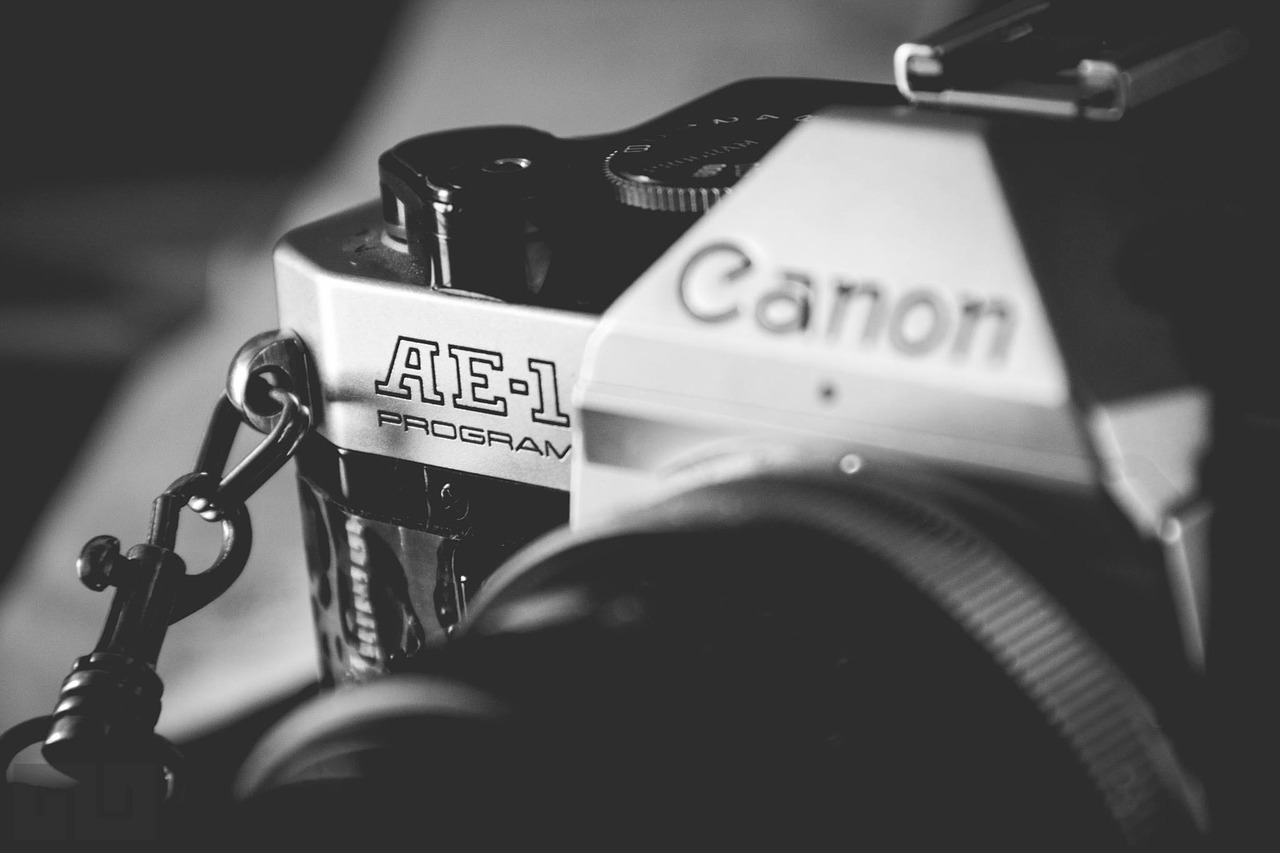
 First came the filters, those scratchy Instagram options that transformed your digital snaps into analogue hipster masterpieces. Then came the polaroid comeback, when Millennials discovered that holding onto one physical polaroid felt much more satisfying than the thousands of images saved on their Cloud network. Now we see a swift re-emergence of young and serious analogue photographers, which comes as no surprise to us. But there are many who still fear the leap into the analogue realm, as it affords none of the throw-away automated comfort of a digital camera. Here are a few tips on overcoming that fear and taking photographs that you won’t end up deleting any time soon.
Brought to you by Ed van Mill - auctioneer photography
1. Just do it!
The first step is choosing the right analogue camera for you, we suggest starting out with a well known 35mm SLR (Single Lens Reflex) as the mirror and prism allows you to see exactly what you’re about to shoot. Starting with a more popular brand means you’ll be able to repair the camera easily as well as find interchangeable lenses for it. Some great cameras to start with are the Canon AE-1, any of the Nikon FM series or the Pentax K1000, better known as “The Beast”.

2. Go Manual.
Automated functions are always easier to use, but you won’t be able to learn much from them. Playing with aperture, shutter speed, and ISO will teach you about your camera and more importantly, about photography as a whole. If your camera was made before the 80s there’s a chance it only has manual options, and if it’s not we suggest switching to manual until you and the camera are good friends.

3. Start with Black and White
If you start with a few rolls of B/W film, you can be sure that some of the images will print very nicely, even if you’re just a beginner. This is because the margin of error and the ability to capture information is a lot higher in B/W than on colour film. Another tip is to shoot outside on bright days, in which case your exposure will be easy to set and your photos will come out in high definition.

4. Use the Sunny 16 Rule
So you find yourself outside on a sunny day and you want to shoot some film, but you're not sure how your meter works yet. This common photography trick will make things easier. Always set your aperture to f/16 on bright days and then set your shutter speed to the reciprocal of the ISO on your film. For example, if you’ve bought film with an ISO of 200, then the shutter speed should be set at 1/200 and the aperture at f/16, and voila, you’ll be taking some great photographs.

5. Take a LOT of photos.
Many beginners will take a long time and think too much before taking a shot, as each click matters and each mistake is a waste of film. But there’s no way to be perfect from the start, and there’s only one way to learn what you and your camera are capable of producing, and that’s just to shoot, all the time. Don’t shoot carelessly the way you would with a phone camera, but you also can’t let fear hold you back from creating some wonderful photography. After all, analogue photography is a long and patient process, and it’s the journey that counts.
Feeling inspired to shoot your first analogue photograph? Then check out our weekly analogue photograph auction and find the perfect match for you.